
October being my favorite month of all year, its no wonder I have been such a very bad blogger.
*BAD GEN*
Anyways, I am here now to show off my Halloween eyeshadow of the day look. It is SO colorful and dramatic and daring, I created this look with some of my favorite Sugarpill products of all time.
SO...enjoy some pics!

These are the Sugarpill Products I used:
- Midori (pressed grassy green)
- Tako (pressed super white)
- Poison Plum (pressed deep & bright purple)
- Bulletproof (pressed deep matte black)
- Dollipop (pressed super hot pink)
- Absinthe (loose acid-ee lime green)
- Afterrparty(pressed electric shimmery blue is also pictured but was not used in this look)
The Sugarpill Palette shown in this picture was the discontinued "Cold Heart Palette." I am SO glad I got one before they were discontinued. I ordered the burning heart and cold heart so I could double up on poison plum. I ordered midori and dollipop singles instead of the sweetheart palette.


In the picture above I show everything that I used to:
prep my lids, define my bows, create the precise line
& line my eye-lid/waterline/tight-line
- Scotch Tape
- Urban Decay Eyeshadow Primer Potion Original (I re-potted the product after the original "genie-esque bottle it came in snapped in half)
- NYX Jumbo Pencil in Milk
- MAC Impeccable Brow Pencil in Blonde
- MAC Fluidline in Blacktrack
- Urban Decay 24/7 Glide-On Eye Pencil in Zero
- NYX Fabulous Lashes in Nostalgia #128
- Maybelline Falsies Volum' Express Mascara in Black Drama

In this picture I will show you The Body Needs products I used:
- TBN Blush In Passionate Kisses
- TBN Mineral Eyeshadow in Orchid in Violet
- TBN Mineral Eyeshadow in Shimmers Green


These are the products I used on my Face:
- Revlon ColorStay in 240 Medium Beige
- Revlon Beyond Natural Smoothing Primer
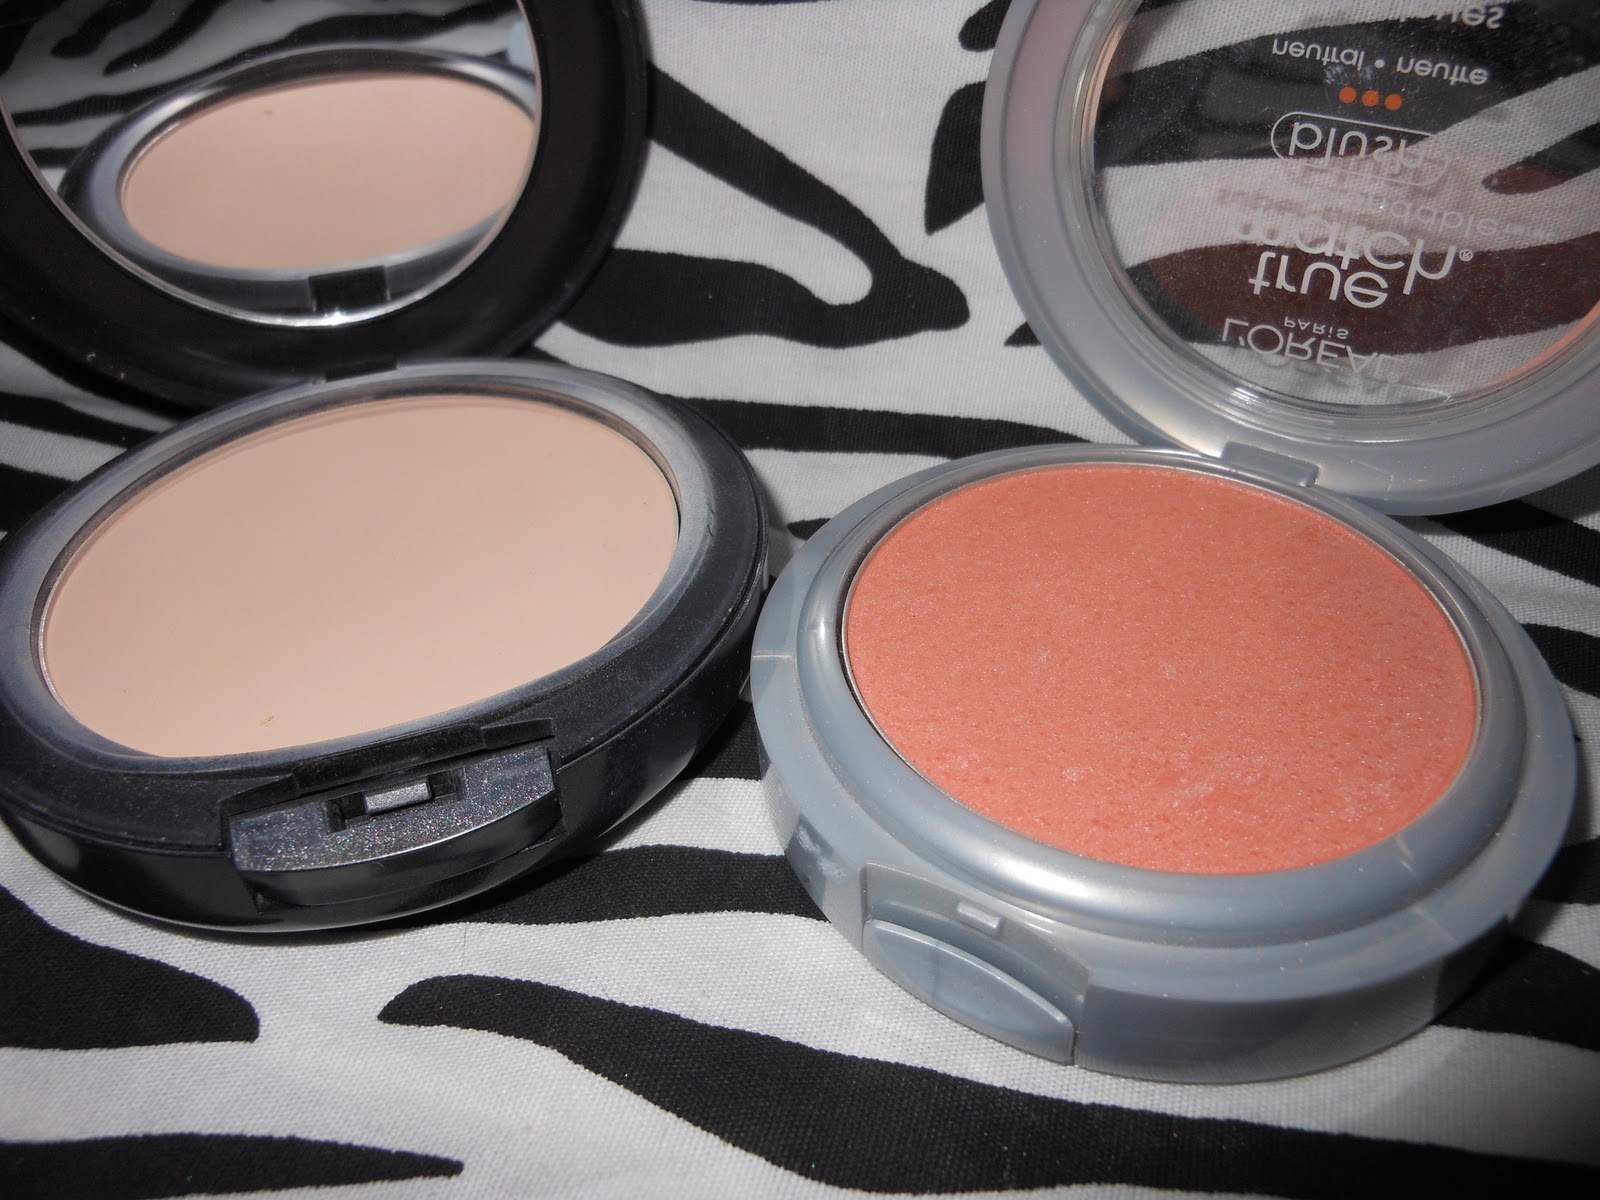
- L`Oreal True Match Super-Blendable Blush in N 3-4 Innocent Flush
- MAC Studio Fix Powder in NW20
Here is a picture of my eye close up. I placed the tape at the end of my eye, lined up with the natural line on my bottom lash-line. I then applied my UDESPP on my lid, followed by a generous application of the NYX pencil in milk. I then patted the Midori on just my lid. Over that I smoothed on a layer of the Absinthe. Then from the outer corner I started to blend in the Poison Plum across my crease, followed by a light application of dollipop to blend it out to my brow. I then went in with the Bulletproof and applied that to the very corner down slightly into the midori/absinthe. I then put a tiny bit of the nyx milk under my brow/ inner corner of my eye to apply Tako under my brow and Shimmers Green in my inner corner. I applied the Orchid In Violet the blend the poison plum into the tako and blended the inner corner up just a bit. The last steps were to fill in my brows, line my eyes on my lid with the MAC Blacktrack, and line my waterline/tigh-line the top lash line with the UD pencil in zero. Last but not least, I added the lashes and blended my natural lashes in with the falsies mascara.

After I finished my eyeshadow, I removed the tape and proceed with my usual face make up regimen. I start with the Revlon smoothing primer, and apply a very thin and light layer. I then follow with my foundation (revlon colorstay), stipple it on with my foundation stippling brush. After that I brush on a light layer of the blush in passionate kisses and blend some of the true match blush over for a more flushed/shimmer look. Lastly, I set the remaining spots of my foundation with the MAC studio-fix powder.

As you can see in the next two pictures, I put my vampire fangs in that were used for my "Dr. Acula" costume. None of my halloween party pictures showed them off very well, so I decided to show them off here!


I hope you all enjoyed this post! If you have any comments, questions or suggestions
(weather for the look of future blog posts)
...leave it in a comment below!
Stay Doll, Lovelies!


